
How to Install GBA4iOS iOS 17 iPA on iPhone in 2024?
Hey there, fellow gamers! Are you ready to dive into …
How to Install GBA4iOS iOS 17 iPA on iPhone in 2024? Read More
Easiest How To Guides on Web
Hey there, fellow gamers! Are you ready to dive into …
How to Install GBA4iOS iOS 17 iPA on iPhone in 2024? Read More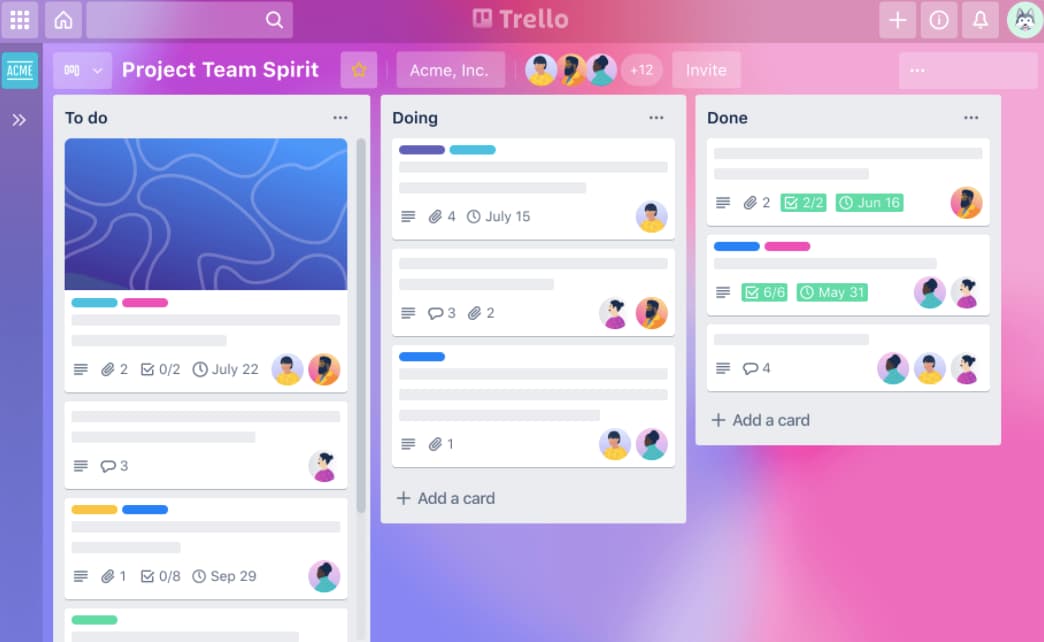
Hey there, fellow Trello users! Are you looking to take …
Top 10 Best Trello Power-Ups to Boost Your Productivity in 2024 Read More
As a responsible internet user, you understand the importance of …
How to Stop Avast from Blocking Websites: A Comprehensive Guide Read More
Samsung, known for its high-profile device launches, has taken a …
Samsung Launches Galaxy Tab S6 Lite 2024 Edition with Upgraded Chipset Read More
Social media has become a huge part of our lives. …
Social Media and Mental Health: A Complex Relationship Read More
Are you ready to hit the dirt and experience the …
Download Euro Rally Champion for Windows Read More
When it comes to starting a new business, designing the …
How to Design an Office Space for a Startup Business? Read More
Hey there, Instagram lovers! Are you ready to take your …
Instagram Rocket iOS 17 iPA Download 2024 Read More
Are you a proud owner of a Kindle e-reader? If …
How to Convert Your Kindle Books to PDF Format? Read More
Losing your iPhone can be stressful and scary. Luckily, Apple …
Find My iPhone Login at iCloud.comFind Read More